The color-it-yourself guide
A blank costume.
A big imagination.
A black-and-white turkey disguise leaves the best part to your child: choosing what their character looks like. Here is how to turn an outline PDF into a project they can help make.
Start with a real outline.
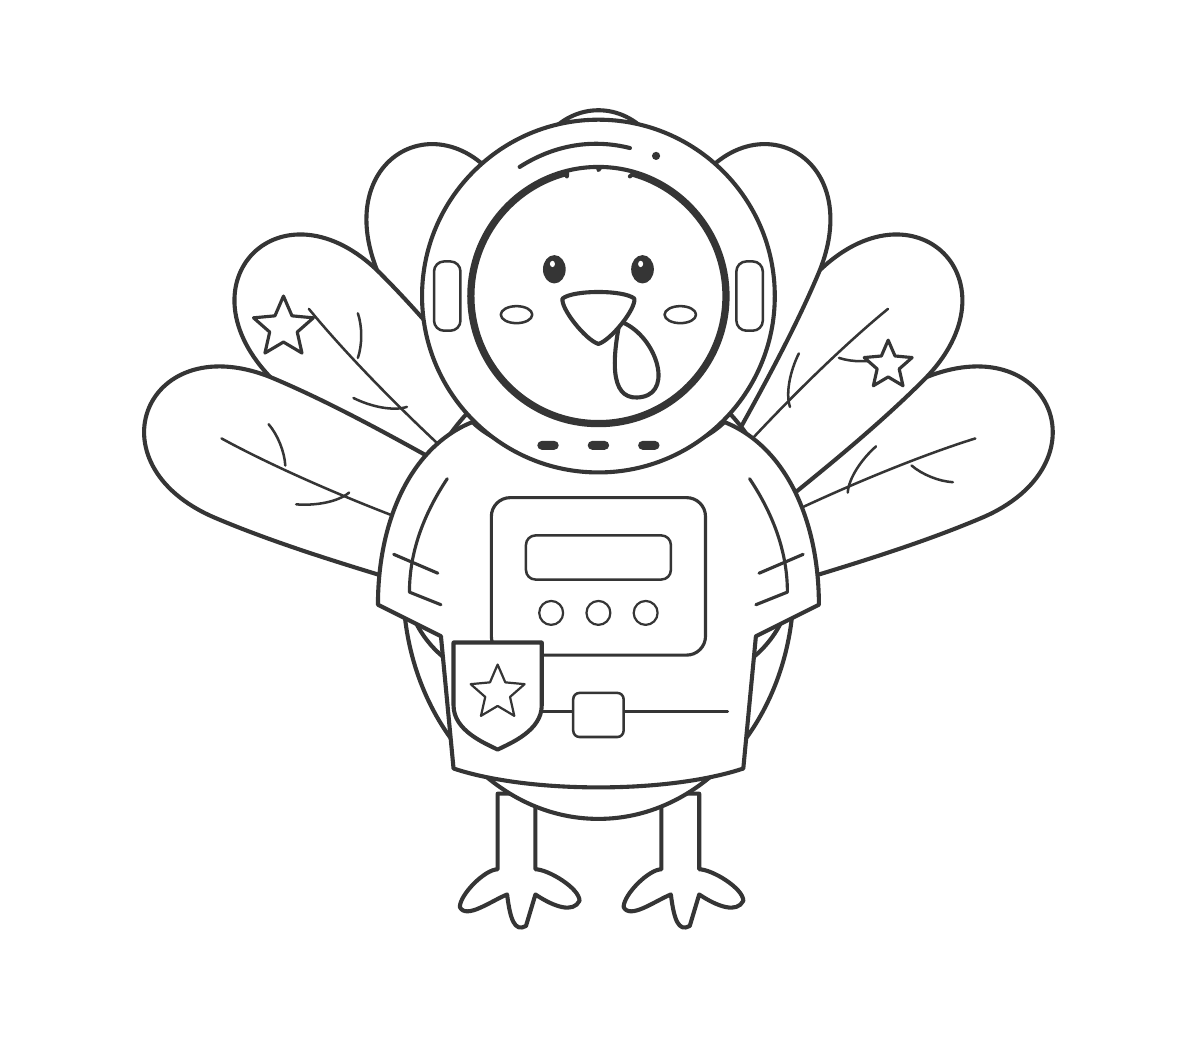
Our free astronaut kit includes an assembly guide, the turkey base, and separate costume pieces. The outline version has black-and-white artwork with spaces to color. The picture below shows the assembled design; the PDF contains the pieces to make it.
Letter: 8.5 × 11 inches. A4: 210 × 297 mm. Free for household or classroom use under our use terms.
Check the school assignment first. This costume is designed around the included turkey. If your teacher requires a different outline, read our school-outline guide before printing.
Give them a small, fun choice.
An open-ended “color anything” can be exciting, but a narrower starting point may be easier when the project feels big. Offer two or three ideas, then let your child change them.
- A moon explorer: a blue suit, yellow stars, and any feather colors they choose.
- A rainbow mission: one color for each feather, with a spacesuit that matches a favorite color.
- A night-sky explorer: keep some areas white and fill others with dark blues or purples. Add tiny dots as stars if the assignment allows.
These are drawing prompts, not extra PDF designs. There is no correct palette, and the finished project does not need to look like our color example.
Color first. Cut second.
Put the full sheets on the table
Keep small costume pieces attached to the paper while coloring. A full sheet is easier to hold than a tiny cut-out. Place scrap paper underneath if using markers.
Choose tools for the paper you have
Crayons or colored pencils are simple starting points on ordinary printer paper. Try a marker on an offcut first to see whether it shows through. Let wet ink dry before cutting.
Cut with adult help where needed
Follow the PDF’s piece labels and outer outlines. An adult can handle tight curves and small pieces. Keep scraps and tools away from younger siblings.
Arrange the disguise before gluing
Place the helmet and suit on the included turkey, using the assembly illustration. Make adjustments while the pieces are loose, then glue them one at a time.
Ask your child to finish one sentence: “This is not a turkey. This is a space explorer who…” Write down their words on a separate sheet, or let them write if they want to.
Print the outlines, not this page.
Open the downloaded PDF and select the matching paper size, portrait orientation, one page per sheet, and Actual size or 100%. Use the same scale for every sheet so the base and costume stay in proportion.
Print one page with the 50 mm reference line, measure it with a ruler, then print the rest. If the line is the wrong length, check scale and paper settings. Avoid shrinking just one costume sheet to fix clipping.
“Black-and-white” describes the artwork; it is not a promise that a particular printer uses only its black cartridge. Ink behavior depends on the printer and its settings. Use its monochrome setting if appropriate and consult its manual.
For clipped edges, phone downloads, or sizing problems, see the full print guide. The files have been checked digitally; your printer and assembled craft still need a real-world check.
Making more than one?
Keep one master PDF and print a complete set for each maker. Before handing out pieces, make one paper-size check and compare the base and costume sheets from that print batch.
Keep each child’s pieces together on their own work area. Children can share a palette idea without being asked to produce identical projects. If you need to share the kit with other adults, send a link to the website instead of reposting the PDF.
Need to keep a school-issued turkey? The school-outline guide explains what to measure and why a single percentage cannot fix every shape.
Pick the paper. Bring the color.
Find the free kits and choose your printing options.